Mount Meru Gallery
Get a glimpse of the breathtaking views and experiences that await you on Mount Meru.
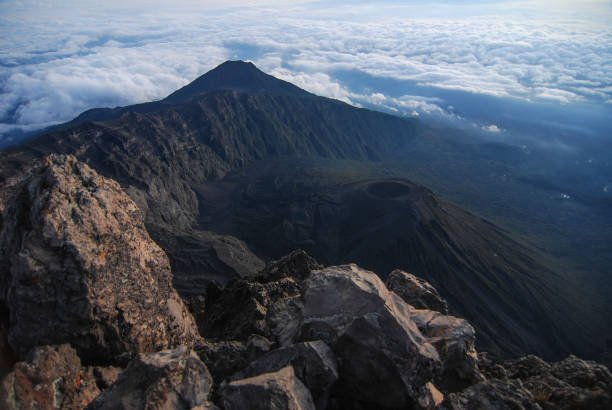

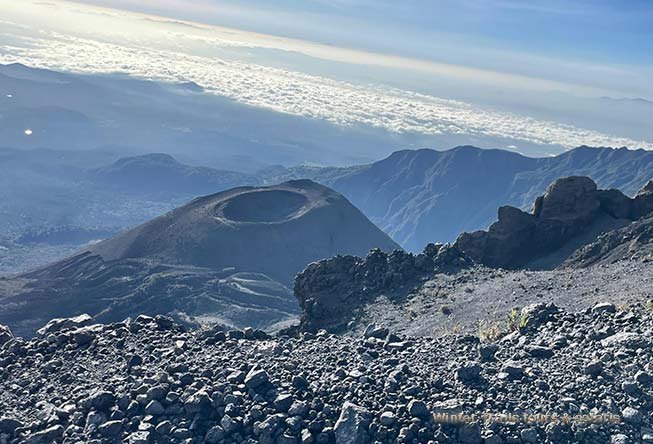

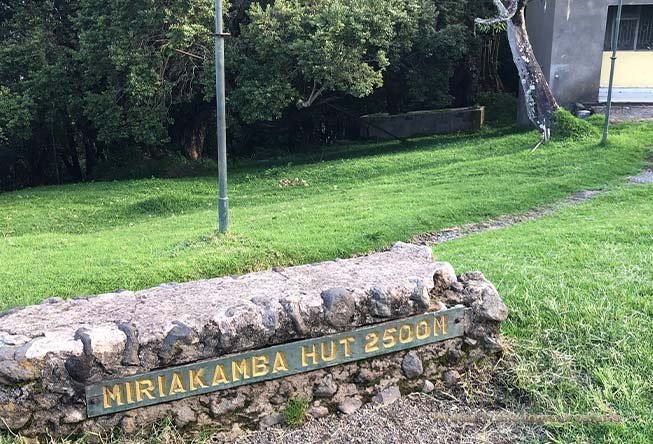
Climb Tanzania's second highest peak — a 4,565-metre adventure with stunning views of Kilimanjaro.
Mount Meru is Tanzania's second highest mountain, standing at 4,565 metres above sea level. It is located inside Arusha National Park, just a short drive from the city of Arusha. Many people see it as the warm-up for Kilimanjaro, but Meru has its own character and charm.
The climb up Meru takes about 3 to 4 days. The trail passes through lush rainforest, open moorland, and finally reaches the summit ridge with stunning views of Kilimanjaro in the distance. The sunrise from Meru's summit is something you will not forget.
Mount Meru is home to a variety of wildlife. On the lower slopes, you can see giraffes, buffalo, elephants, and colobus monkeys. It is a true wilderness experience.
From the summit of Meru, you get breathtaking views of Kilimanjaro, the Rift Valley, and on a clear day, you can even see Mount Kenya in the distance.
Many climbers use Mount Meru to acclimatize before attempting Kilimanjaro. It is a great way to test your body at altitude before the bigger climb.
Unlike Kilimanjaro, Mount Meru sees far fewer climbers. You get a more peaceful and intimate mountain experience with very few other people on the trail.
Talk to us about your Mount Meru adventure. We are here to help you plan your climb.
Get a QuoteChoose the trek that suits you best. Every package includes experienced guides, quality equipment, and full support.
Loading packages...
Get a glimpse of the breathtaking views and experiences that await you on Mount Meru.